New Challenge (5/31/06) – Spherical Design
This week's challenge is to create an original design into a sphere of your choice. You can create a glass org, a snowglobe, a bubble...whatever you wish! However, the end result MUST look like a 3D sphere!
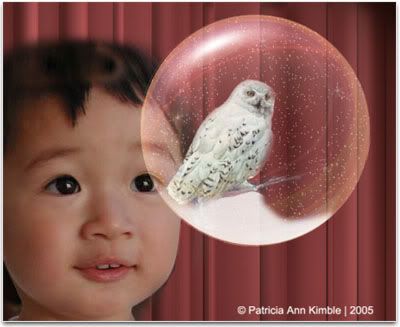
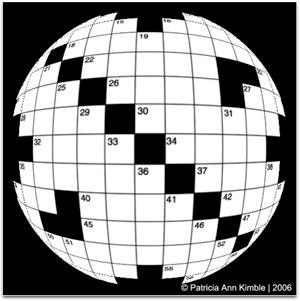
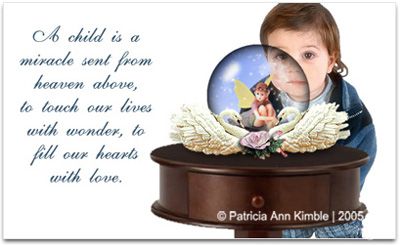
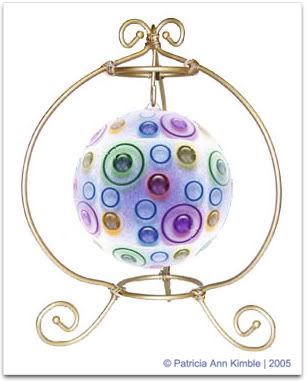
Here are some examples of creations I have done in the past:
Here are some tutorials to get you started!
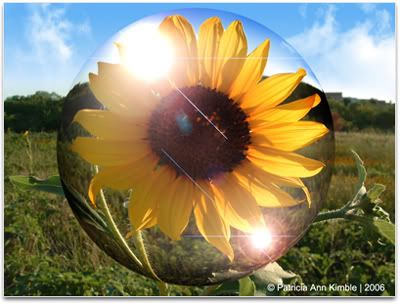
Here is how I created the Sunlower Sphere image above:
Have fun with this, and see what unique creations you can come up with! Have a great week!
Here are some examples of creations I have done in the past:
Here are some tutorials to get you started!
Here is how I created the Sunlower Sphere image above:
- After duplicating my first layer...I used the ellipse selection tool to create a perfect circle around the part of the image I wanted to be inside the sphere/globe. To make a perfect circle, hold down the SHIFT key when clicking and dragging.
- I then used the Distort Filter, Spherize, at 100% on the normal mode.
After the sphere was creating, I simply added highlights using different lens flare filters. - I added more highlights by using the dodge and burn tools (Highlights Range on the Dodge and Midtones Range on the Burn). The dodge was used to brighten up areas, and the burn was used to darken.
- Just try to visualize what a true bubble or glass orb would look like when you add in your highlights. Also, remember to darken the edges with the burn tool to give it a better 3D effect. Add any other highlights you wish to create the effect you are trying to reach.
Have fun with this, and see what unique creations you can come up with! Have a great week!
posted by TXArtcGal at 7:15 AM
![]()

6 Comments:
I got to play this week! I altered a photo and a couple pieces of my own artwork. It was fun to play with and I think I'll probably try a few more things too!
Mimmsical Creations
Tammy
Wow- very cool examples! I'mmana try and get a sphere in by the deadline-- but I sphere I may not have time-
wow - these are quite wonderful
That was WAY fun. Have I told you yet how much I love this site? The tutorials you link to are teaching me so much.
my family floating away in bubbles
Sphere is my try at it so far. Nice learning exp.
http://andydoodler.blogspot.com/2006/06/photoshopchallenge-sort-of-recycled.html
I am very late submitting my entry due to being a bit under the weather...grrrr!
Here is my submission! What fun!
Floating Away
Post a Comment
<< Home